by Sunny
follow me on Twitter @Sunnylooksleaps
I think it’s safe to say that while Frozen mania has died down considerably, Anna, Elsa, and Olaf will be fixtures of Halloween costume racks for years to come. And if your little ones are just now jumping on the Frozen bandwagon, take a look at these Halloween projects that just might have Olaf singing about Autumn instead of Summer!
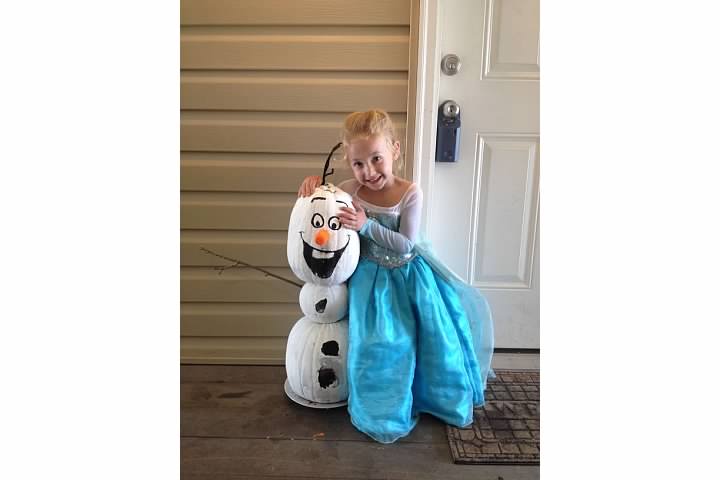
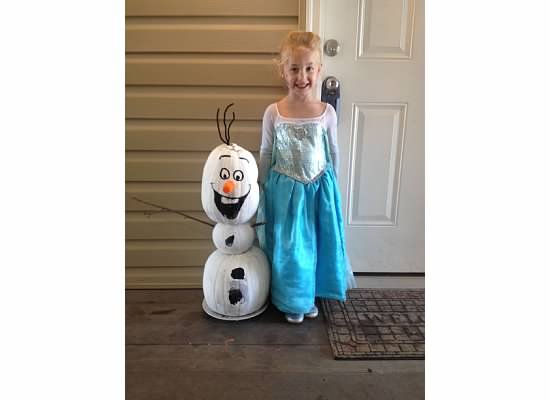
This friendly guy made from pumpkins is sure to delight any Elsa!
Olaf Pumpkin Sculpture
You will need:
3 pumpkins of various sizes – I suggest using craft pumpkins. We used real ones and were really sad when our rotting Olaf “melted” all over our porch 😝
1 dowel rod as tall as your pumpkins stacked vertically.
White, black, and orange craft paint
2 sticks from your yard
3 black pipe cleaners
1 foam cone
paintbrushes
carving knife
Step 1: Paint! – Using the white craft paint, paint all three pumpkins allowing the paint to dry between coats. Go ahead and add one “button” to the middle section and two “buttons” to his bottom section. Paint on the eyes and mouth leaving room to attach the nose later. Allow all paint to dry completely.
Step 2: Nose! – Carve a small hole in Olaf’s face to allow the nose to fit snugly. Take your foam cone, and using a knife, whittle it down to fit in the hole and also to form a “carrot” shape. Paint the nose with orange craft paint and let dry. Line the inside of the hole with hot glue and then insert the orange nose.
Step 3: Assemble! – Carve a hole in the top of Olaf’s bottom section, in the top AND bottom of his middle section, and in the bottom of his top section. (Got all that?) Put the dowel rod through the bottom section and add hot glue to the top of the bottom section. Add the middle section onto the dowel rod and repeat the hot glue on top. Slide the top section on and press gently to secure. Your Olaf is taking shape!
Step 4: Arms! – Carve a tiny hole on either side of the middle section, line the hole with hot glue, and stick those sticks right in! Bonus points if you find a stick that looks like “fingers” on the ends!
Step 5: Hair! – Poke a small hole in the top of your Olaf and thread three black pipe cleaners through. Spread and shape them to look like Olaf’s sprigs of hair.
Tada! You are practically an Ice Queen with your snowman building capabilities!

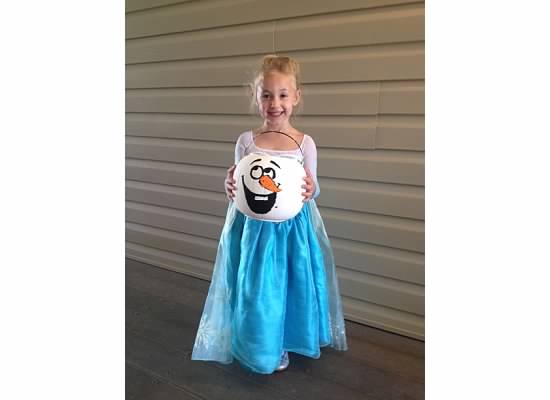
Olaf Trick or Treat Bucket
I love this super easy, super inexpensive project! You can easily make this project in one hour for under $5. The results are too cute and really add to either the Anna or Elsa costume!
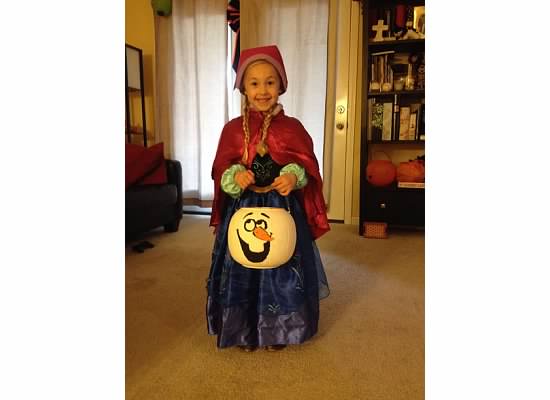
Your little Anna will be able to fill this cute candy bucket will all of the chocolate she can carry!
You will need:
1 plastic pumpkin bucket
Black, Orange, and White craft paint (Use the leftovers from the Olaf Pumpkin Sculpture Project!)
paintbrush
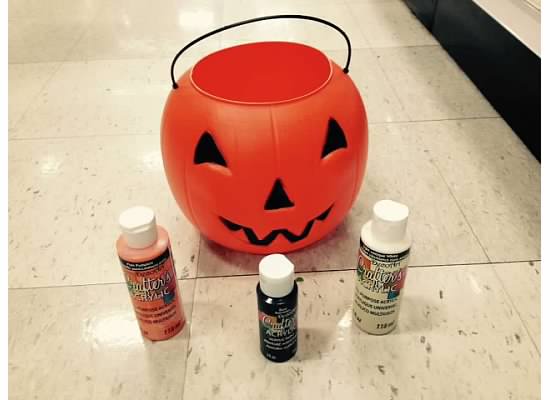
These are all of the supplies you need to make this adorable craft!
Step 1: Paint! – Paint the entire pumpkin white. Allow to dry completely before adding another color.
Step 2: Face! – Add the facial features. I googled a picture of Olaf to copy. I think having Olaf’s eyes gazing up as if he is looking at “Anna” or “Elsa” makes for a cute picture. Allow to dry completely before using candy bucket.
Happy Halloween! Did you try my craft ideas? Share your pictures with me on Twitter @Sunnylooksleaps!